wifi.wavlink.com login | wavlink extender login and setup guide

wifi.wavlink.com
wifi.wavlink.com login

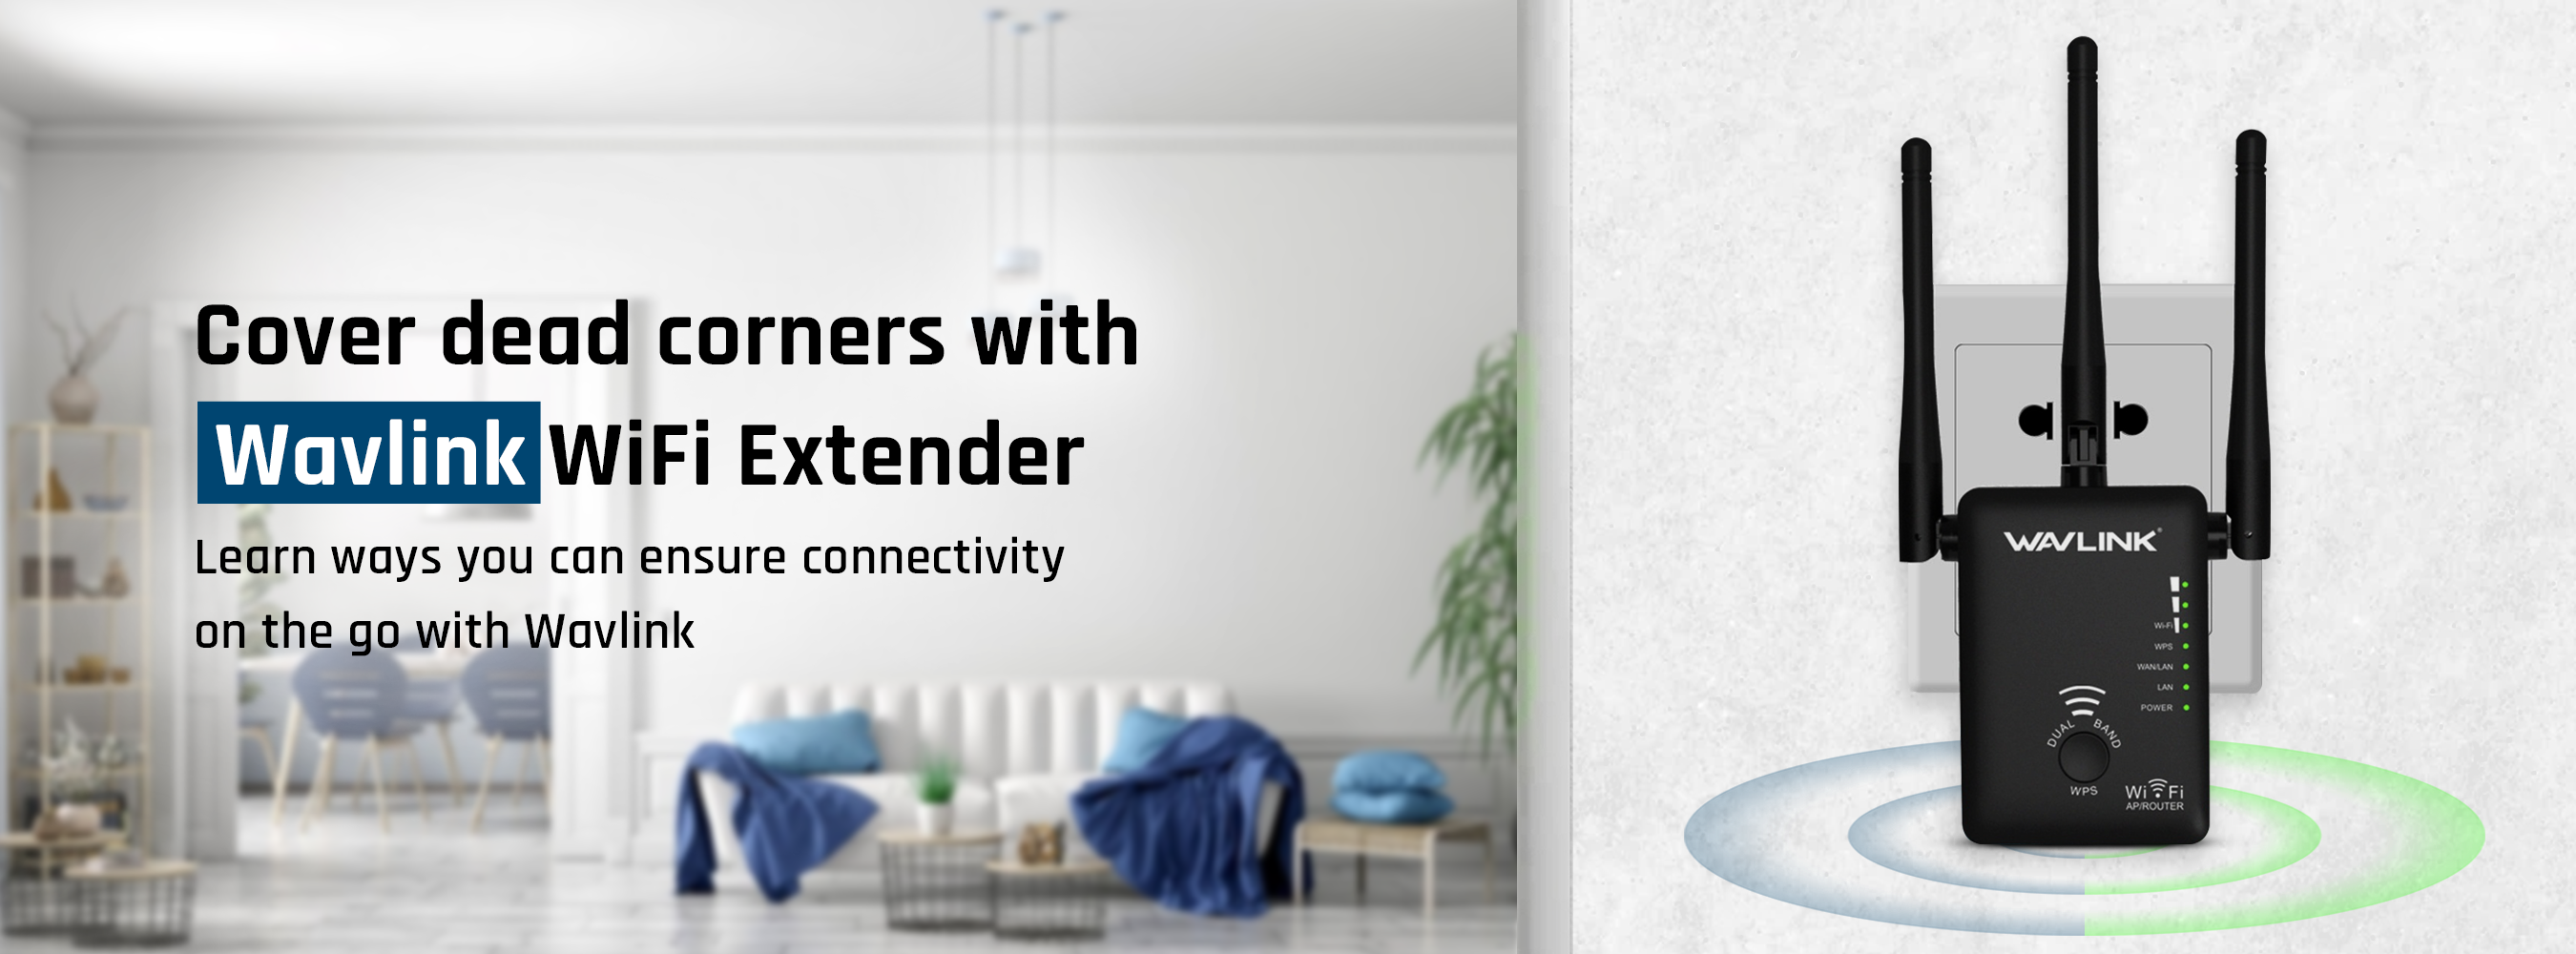
Ready to embark on a journey of connectivity bliss with your Wavlink device? Well, you’re in for a treat! In this super-friendly guide, we’re about to sprinkle a bit of magic dust on your Wi-Fi setup woes. Connecting your Wavlink to Wi-Fi is about to become as easy as pie, and we’re here to guide you through the process with a side of smiles. Whether you’re a tech newbie or a seasoned pro, let’s make this connection dance as delightful as your favorite tune. So, grab your wavlink extender and let’s surf the waves of Wi-Fi together.

What is wifi.wavlink.com?

Wifi.wavlink.com is a default web address used for setting up and managing Wavlink wireless devices, such as routers and extenders. It provides a web-based interface for users to configure their network settings, update firmware, and perform other management tasks. The domain is used to access the setup and login pages for Wavlink devices, allowing users to customize their network settings and ensure smooth operation. wifi.wavlink.com used to access the web management page of Wavlink network devices,

Why wifi.wavlink.com login is not working?

Check out the couple of reasons that will depict why your extender is not working:-

  • Incorrect URL: Ensure you are entering the correct URL, “wifi.wavlink.com.”
  • Network Connection Issues: Confirm your device is connected to the Wavlink Wi-Fi network.
  • Browser Compatibility: Try a different web browser in case of compatibility issues.
  • Cache and Cookies: Clear your browser cache and cookies, then attempt to log in again.
  • Device Reboot: Reboot your Wavlink device to refresh settings.
  • Default Credentials: Use the default username and password from the device manual if you haven’t changed them.

Firmware Update: Check for and apply any available firmware updates for your Wavlink device.

Fix these issues & ensure the smooth working of your wifi extender.

wifi.wavlink.com not working

How Do I Connect My Wavlink to Wifi?

Connecting your Wavlink to Wi-Fi is a straightforward process.

 Follow these simple steps to get your device seamlessly hooked up to the world of wireless connectivity:

  • Power Up Your Wavlink Device Ensure your Wavlink device is properly powered on. Connect it to a power source using the provided adapter or cable.
  • Access Wavlink Settings Using a device such as a computer or smartphone, locate the Wi-Fi settings. This is usually found in the settings menu or system tray.
  • Search for Available Networks In the Wi-Fi settings, look for available networks. Your Wavlink device should appear in the list of available Wi-Fi networks.
  • Connect to Wavlink Select your Wifi.wavlink.com device from the list of available networks. If prompted, enter the Wi-Fi password. This is typically found on a sticker on your Wavlink device or in the user manual.
  • Wait for Connection After entering the password, wait for your device to establish a connection with the Wavlink. This may take a moment.
  • Confirmation Once connected, you should see a confirmation message or symbol on your device indicating a successful connection to the Wavlink Wi-Fi network.
  • Test the Connection To ensure everything is working smoothly, open a web browser or launch a connected application to verify that you have internet access.

Congratulations! You’ve successfully connected your Wavlink device to Wi-Fi. If you encounter any issues, double-check the entered password and ensure your Wavlink device is within range of your Wi-Fi signal. Happy surfing!

Know about Wavlink firmware update

To update the firmware on your Wavlink device, visit the official Wavlink website and navigate to the “Support” or “Download” section. Locate the firmware update for your specific device model and download it to your computer. Connect your computer to the Wifi.wavlink.com login device, access the device’s web interface using a web browser, and log in with the default credentials. Find the “Firmware Update” section in the interface, upload the downloaded firmware file, and follow on-screen instructions to initiate the update. Allow the process to complete without interruption, and after the update, restart the device.

How to Go for Wavlink extender password reset ?

Resetting the wavlink extender password is very easy. Just follow these easy steps:-

  • Connect to the Extender Ensure that your computer or mobile device is connected to the Wavlink extender’s network. You may need to connect to the extender via Wi-Fi.
  • Access the Web Interface Open a web browser and enter the default IP address of the extender in the address bar. Common IP addresses include 192.168.0.1 or 192.168.1.1. Press Enter.
  • Log In Enter the current username and password to log in to the extender’s web interface. If you haven’t changed the login credentials, you can find the default username and password in the device’s manual or on the Wavlink website.
  • Navigate to Settings Look for a section in the web interface that relates to “Settings,” “Administration,” or “Security.” The location may vary depending on the extender model.
  • Password Reset Within the settings or security section, find the option for “Password,” “Wireless Settings,” or similar. Choose the option to reset or change the password.
  • Enter New Password Set a new password for your Wavlink extender. Make sure to choose a strong and secure password for your Wifi.wavlink.com to enhance the security of your network.
  • Save Changes After entering the new password, look for a “Save” or “Apply” button in the web interface. Click on it to save the changes.
  • Reconnect Devices Once the password is changed, you may need to reconnect your devices to the extender using the new password.

Why Belkin.range is not working?

Isn’t it very easy?

So, just follow these steps & ensure the smooth functioning of your wifi.wavlink.com seamless.

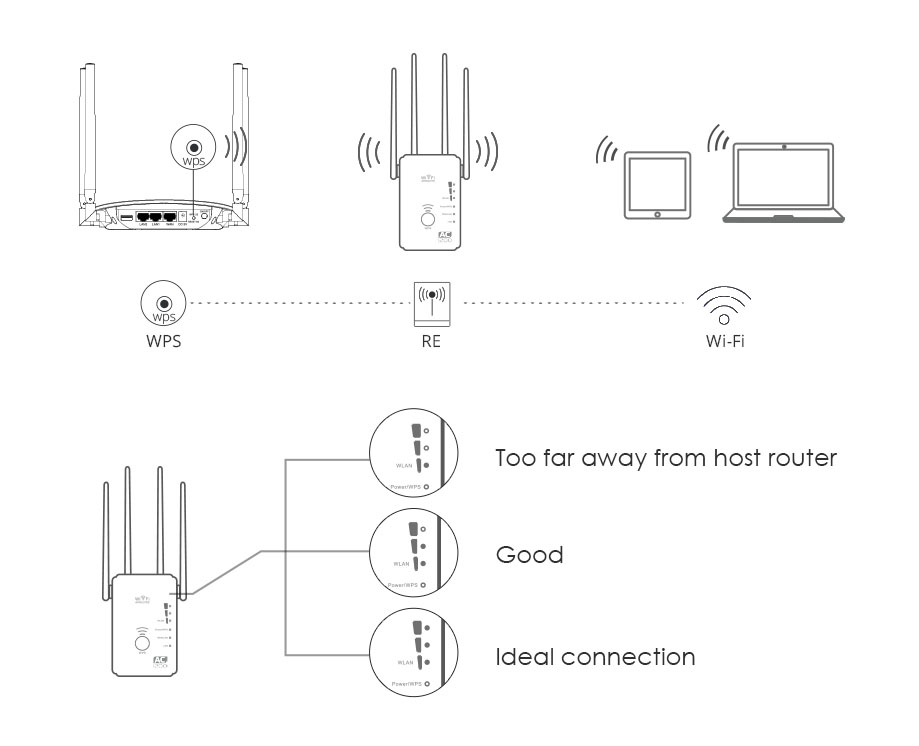
Quick Guide for Wavlink ac1200 setup

wavlink ac1200 setup
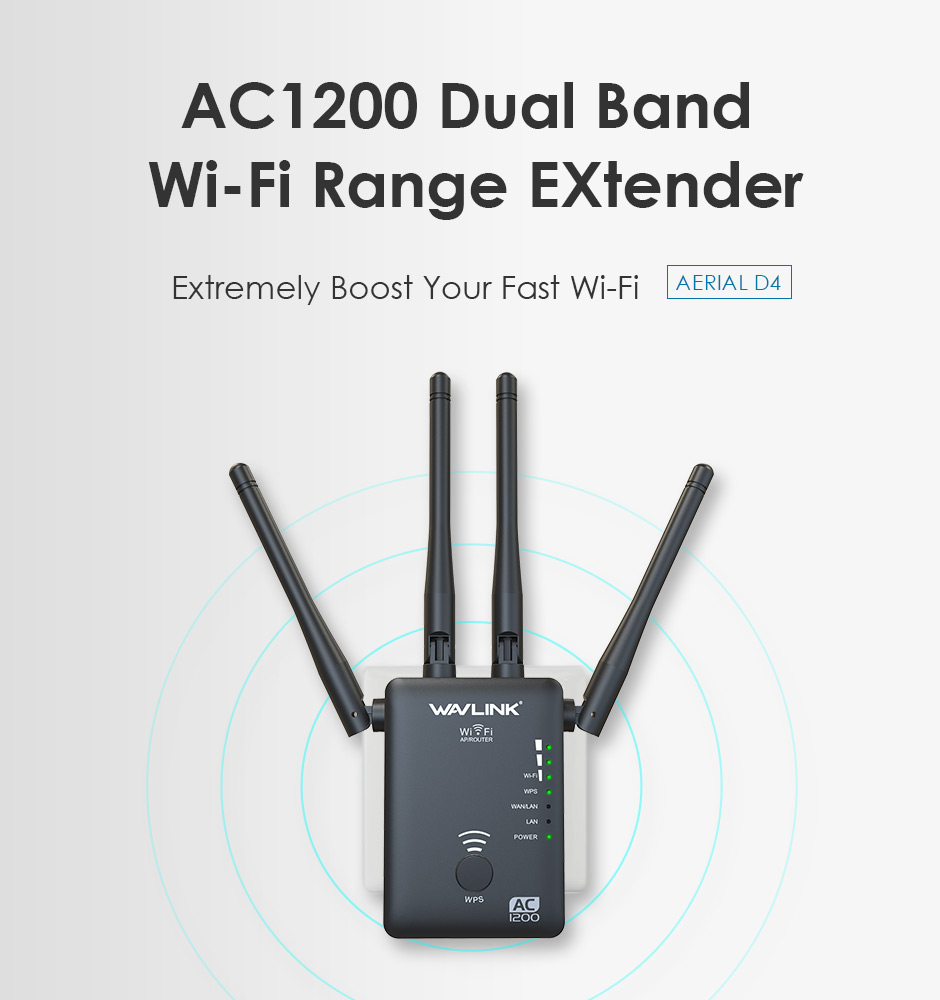
  • Unbox and Connect Unbox your Wavlink AC1200 and connect it to a power source using the provided adapter.
  • Place the Extender Position the extender within the range of your existing Wi-Fi router for optimal signal strength.
  • Power On Power on the AC1200 and wait for the indicator lights to stabilize.
  • Connect to Wavlink Wi-Fi On your device (phone, laptop, etc.), go to Wi-Fi settings and connect to the Wavlink AC1200 network. The default network name is often “Wavlink” followed by a series of characters.
  • Access Web Browser Open a web browser and enter “http://ap.setup” or “http://192.168.10.1” in the address bar.
  • Login Enter the default username and password. You can find these in the user manual or on the device itself.
  • Setup Wizard Follow the on-screen setup wizard to configure your Wavlink AC1200. This may include selecting your existing Wi-Fi network and entering the password.
  • Complete Setup Finish the setup process and wait for the extender to restart.
  • Verify Connection Once restarted, connect your device to the extended Wi-Fi network and ensure a stable connection.

wifi.wavlink.com login – How do I change Wi-Fi password on Wavlink?

Follow these quick steps to change the Wi-Fi password on Wavlink:-

  1. Connect your computer or mobile device to the Wavlink router’s Wi-Fi network or use an Ethernet cable to connect directly.
  2. Open a web browser (such as Chrome, Firefox, or Edge) and enter the router’s IP address in the address bar. The default IP address for Wavlink routers is usually “192.168.10.1” or “wifi.wavlink.com“. Press Enter.
  3. Now, successfully login to the router.
  4. You will be prompted to enter a username and password. By default, many Wavlink routers have “admin” as the username and “admin” as the password. If you’ve changed these credentials before, use the updated login information.
  5. Once logged in, look for a section related to “Wireless Settings,” “Wireless Setup,” or similar. The location of this section may vary depending on the router model and firmware version.
  6. In the Wireless Settings section, locate the field that displays the current Wi-Fi password. It might be labeled as “Passphrase,” “Pre-shared Key,” or something similar.
  7. Clear the existing password and enter the new password you want to set for your Wi-Fi network. Make sure the password is strong and secure.
  8. Some routers might also require you to select the security type (WPA2, WPA3, etc.). Choose the most secure option available.
  9. After entering the new Wi-Fi password and any other desired settings, locate the “Save” or “Apply” button on the router’s interface. Click this button to apply the changes.
  10. Once the changes are saved, your router will restart the wireless network. This might take a moment. Reconnect your devices to the Wi-Fi network using the new password you’ve just set.
  11. To make sure the password change was successful, disconnect from the router’s interface and try to reconnect using the new Wi-Fi password on your devices.
Scroll to Top